
How to resize and crop images in Squarespace Classic Editor
Squarespace is an amazing DIY platform, but if you’ve never used it before then getting the basics down is key.
Something as simple as resizing or cropping an image block can seem pretty confusing when you first start with Squarespace, so today I’m going to walk you through just that!
We’ll also discuss how to move your images around the page and my method for cropping images into different shaped frames using Canva.
Luckily, the methods are exactly the same if you’re using Squarespace 7.0 or 7.1. Please note this tutorial is only for Squarespace’s Classic Editor! If you are using Squarespace’s new Fluid Engine editor, we have a new tutorial showing you how to work your images right here.
add an Image Block to your Squarespace page

Then upload your image to the Image Block panel:

Click Apply
Then, you’ll notice that your image is huge! And this is why I’ve created this tutorial. A lot of people get to this point, they add an image to their page, and they have no idea how to make it smaller.

There’s a variety of ways to edit your image block and make it smaller, so let’s go through them now!

Using spacers to decrease your image block size
Just how you added your image block, you’ll want to add a spacer block.
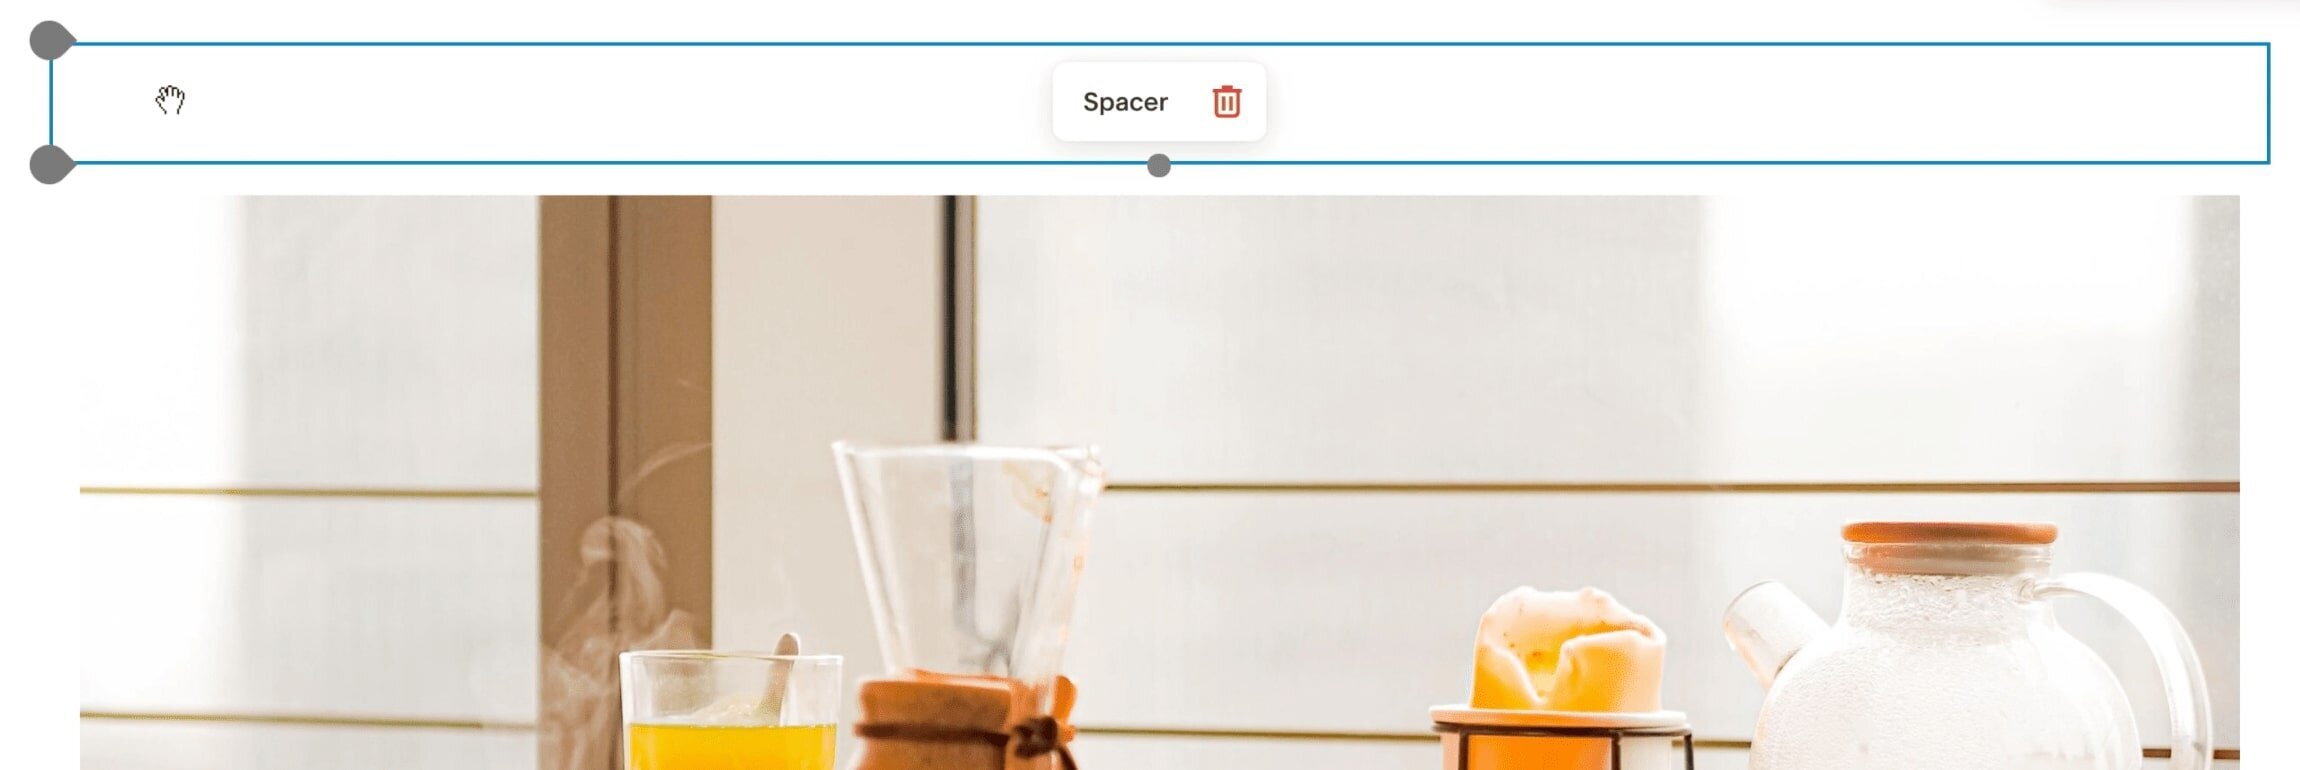
The spacer block is essentially just white space, so it’s really handy for helping you position items around your page.
Then you’ll want to click and drag the spacer block to one side of your image.
Pay attention to the line that shows up when you drag the spacer. This indicates exactly where the spacer will drop.
In this case we want it to go right up against the image.
If you’re still not sure about this, I recommend watching the video above as you can actually see me moving it around and how the line works
As soon as you drop the spacer to the side of the image you will see that the image has already become smaller, as the spacer is, for lack of a better phrase, taking up space on the side.
If you put a spacer on the left side of the image, it’s going to push the image to the right, and vice-versa.
If you want to put your image in the center, add another spacer block and drag it to the other side, so you have a spacer on the left and a spacer on the right. This will position your image in the center (or close to).
If you want to make the image bigger, smaller, or position it in a different spot, hover over the point between the spacer and the image block and you will see a little drag tool show up

You can drag blocks along the side to make them bigger or smaller.
Tip: Once you get a hang of how to edit the blocks and move them around, you’ll be able to apply these techniques to ANY blocks, not just spacer and image blocks. The Squarespace builder is completely designed around this Block system and all of the blocks work much like this, so experiment with the different blocks and dragging them around the page to position them.
Crop the image with the cropping tool
Squarespace has 2 different built-in cropping tools. The first one is really quick and easy to use, but less accurate depending on what exactly you want to crop out of your image.
First, click on your image
You’ll see a little grey dot at the bottom of your image frame

Hover over this dot then click and drag it up or down, you will see your image instantly cropping.
If you drag it up your image will crop at the top and bottom, if you drag it down your image will crop on the right and left.
What makes this tool even better is that you can use the “focal-point” to choose where the image focuses on, and what it crops out:
Adjusting the focal point
Double click on your image or click EDIT on the image block.
You will see on your image preview there is a dot in the center of the image, this is your focal-point, which will standard be set to the center of your image.

Click and drag this dot to tell Squarespace where you want the image to focus.
For example, if there was a face or something else important in the image that you didn’t want to be cropped out, you would put this focal point near that area.
Click APPLY and then try to crop your image again, you will see that Squarespace focuses on the specific section you put the focal-point on, and crops out the rest!
If you want to watch how this is done, check out the video above as there’s a live example!
Cropping your image with the EDIT tool
The second way to crop your images takes a little bit longer but it’s more accurate.
Double click on your image or click EDIT on the image block.
Click IMAGE EDITOR

This will open a whole editor where you can do a bunch of fun things to your images like adjust the color settings and also crop your images! Click on the crop image icon in the top right

This will give you a ton of different cropping preset options, and also you can click Custom to create your own dimensions for the crop.

You can click on the actual image to position it precisely within your chosen crop frame and you can also tilt the image within the crop frame using the tilt tool at the bottom underneath the image.
When you’re done editing your image click SAVE in the top left corner and wait for the image to load within your Image Block panel, then click APPLY.
Cropping your images into different shapes using Canva.com
A common example of cropping your image into something other than a square or rectangle would be to crop your image into a circle like this:

This isn’t something that you can do natively within Squarespace, so I recommend doing it in Canva.
Canva is an amazing free online design tool that makes this really easy.
The aim here is to create the graphic in Canva and then upload it to Squarespace, already cropped!
Head to Canva.com and sign up for a free account
Click Create a New Design. Depending on what frame shape you want you will need to figure out what size your document is going to be. This might take a few trial and errors but that’s OK, just start somewhere.
When you have a started new document, click on Elements in the sidebar, then click on Frames

This will open a ton of different frame shapes that you can use. Click on one to add it to your document, then use the transform tools to make it however big you want.
Then click on Uploads in the sidebar, where you can upload your image.
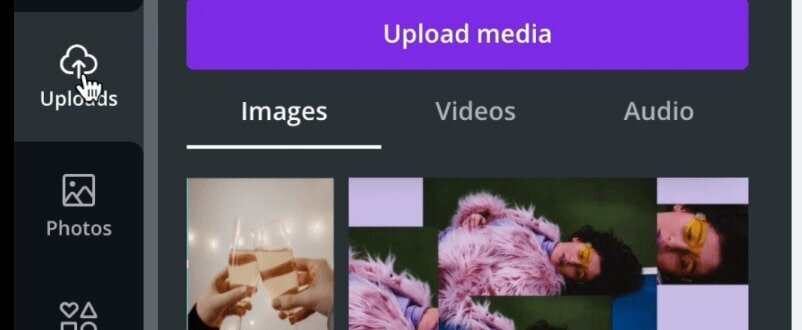
Click and drag to upload your image.
Once your image is uploaded, you can click and drag it straight into the frame you put into your document, and it will populate within the frame!
Double click the image in the frame to position it exactly how you want it.
Once you’re happy with your image, click Download and download your image either in a JPG or Transparent PNG.

Upload it to your Squarespace website in an Image Block:

That’s it! I hope you enjoyed these tips on how to resize and crop images for your Squarespace site. Check out our blog for more Squarespace tips ever week!
If you liked this post, Pin it to Pinterest! 👇🏻